Your Guide to Cleaning Up After a Fire
Get expert tips on fire cleanup, from smoke and soot removal to odour control and TR19 compliance for commercial kitchens.
A kitchen fire is a proper nightmare, whether it’s in your home or business. One minute you’re whipping up your signature dish, the next you’re watching firefighters stomp through your kitchen. But here’s the kicker – once the flames are out, that’s when the real work begins. You’re left facing a mess of smoke damage, soot, water from fire hoses, and that terrible smell that seems to cling to everything. It’s enough to make anyone feel overwhelmed.
Don’t worry, though. We’ve got the nitty-gritty on getting your kitchen back to its former glory, making sure your space is safe, hygienic and ready for action.
Understanding Kitchen Fires and the Damage They Cause
In the UK, we see some 35,000 house fires annually, and a fair chunk of those start right in the kitchen. The usual suspects? Unattended cooking (that quick “I’ll just check my phone” moment), tea towels left near the hob, dodgy wiring in appliances and fat fryers having a meltdown.
But what makes kitchen fires particularly nasty is the aftermath they leave:
Smoke and soot damage is trickier than it looks. This isn’t just a bit of black stuff you can wipe away with fairy liquid. Soot particles are acidic little blighters that burrow into surfaces and start causing corrosion almost immediately. And they come in different varieties:
- Dry soot (from fast-burning fires)
- Wet, oily soot (from slow-burning, smouldering fires)
- Protein residue (from food – it’s especially greasy and might not even be visible)
These particles are microscopic – smaller than a grain of sand – and they get absolutely everywhere. Worse still, they’re potentially carcinogenic, so you seriously don’t want to be breathing this stuff in.
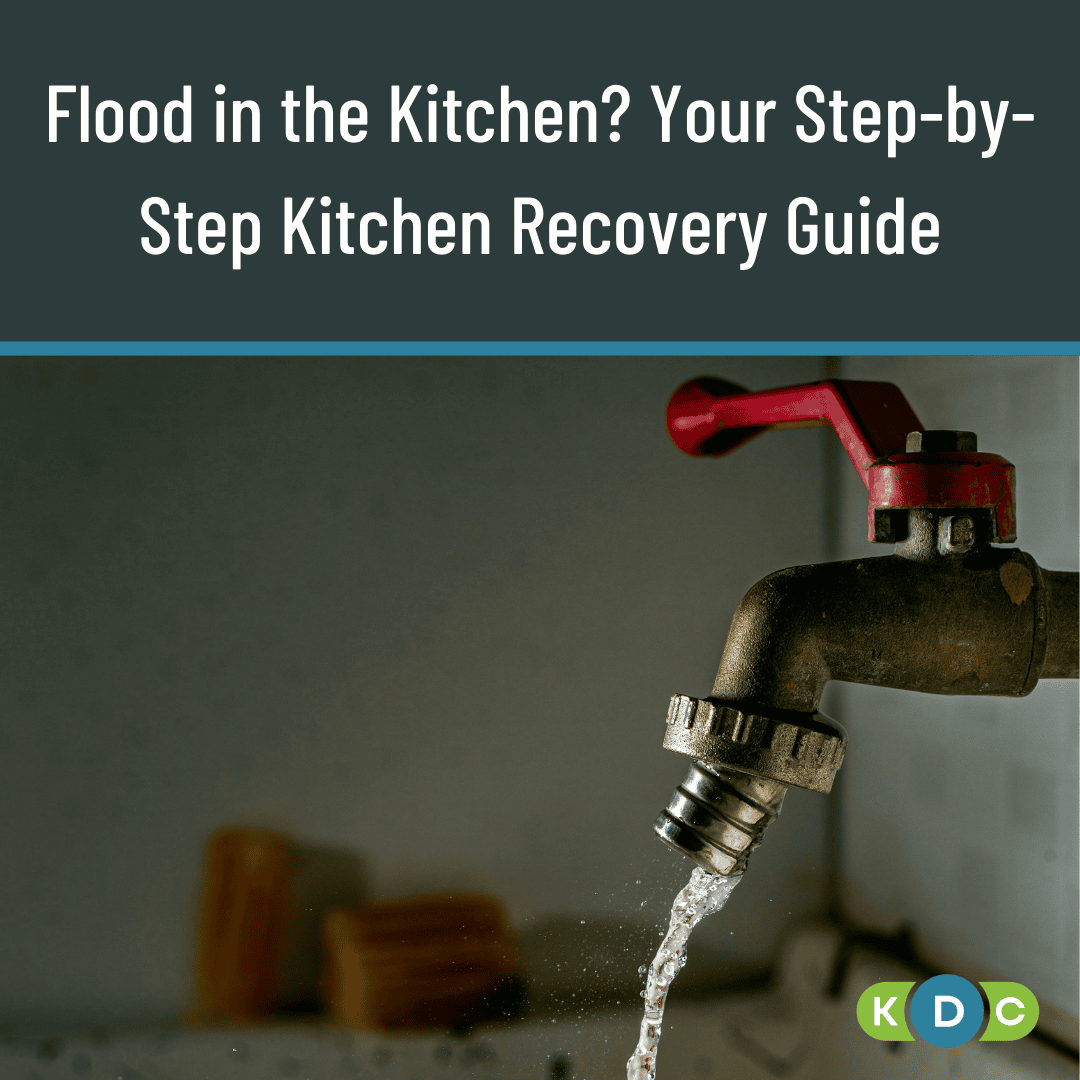
Water damage might seem like a strange concern after a fire, but those fire hoses don’t exactly sprinkle a light mist, do they? All that water can soak into floors, walls and cabinets, creating the perfect breeding ground for mould if not dried properly within 24-48 hours.
Structural damage isn’t always obvious at first glance. But fire can weaken walls, floors and ceilings in ways you might not spot immediately.
That lingering odour isn’t just unpleasant – it’s a sign that smoke particles are still present. And let’s be honest, no one wants their dinner tasting like it was cooked in an ashtray.
Damaged contents – from scorched cabinets to smoke-infused food stores – all need proper assessment. Because that box of cereal might look fine, but trust us, smoky Weetabix isn’t going to be the next breakfast trend…
Immediate Steps After the Flames Are Out
Right, so the fire’s out. What next? First things first:
Safety comes first. This isn’t the time to be a hero. Make sure everyone’s evacuated and dial the fire brigade on 999 immediately.
Don’t rush back in. Wait until the fire brigade gives you the all-clear. These professionals know what they’re looking for when it comes to hidden dangers.
Gear up properly. If you do enter, don’t go in without protection. We’re talking gloves, a proper mask (ideally N95, not just your COVID cloth number) and clothes that cover your skin. Soot isn’t something you want on your hands or in your lungs.
Get some air flowing. Open those windows and doors to start ventilating the place – it helps clear out hot gases and smoke. Just keep an eye on security if you’re leaving things open.
Hands off the utilities. Don’t try turning on gas, electricity or water until qualified engineers have checked them over. A damaged gas line or electrical system can turn a bad situation worse faster than you can say “not again.”
Call your insurance company, pronto. Take photos of everything before you touch it, make lists of damaged items and keep every receipt for cleanup expenses. Your future self will thank you when claim time comes around.
DIY Fire Cleanup: Why It’s Not So Simple
It’s tempting to roll up your sleeves and get stuck in with a bucket of soapy water, but hold your horses. DIY fire cleanup is a bit like performing your own dental work – you might save a few quid, but it’ll cause more pain in the long run.
Here’s why professional help makes sense:
Soot and smoke are health hazards. These aren’t just dirty – they’re dangerous. Without proper equipment, you’re exposing yourself to carcinogenic particles that can cause respiratory problems.
Improper cleaning can make things worse. Ever tried to clean a greasy pan with just water? It smears everywhere, right? Same principle with soot – incorrect cleaning can actually embed particles deeper into surfaces. And those air fresheners? They’re just masking odours, not removing them.
Different materials need different approaches. Your carpets need wet/dry vacuuming, your clothes might need specialist dry cleaning, and your wallpaper needs gentle handling. One-size-fits-all cleaning just doesn’t work here. And that stubborn, greasy soot won’t budge with regular cleaning products – it needs specific solvents.
Water damage is sneaky. It seeps into places you can’t see. Professional-grade dehumidifiers and moisture meters spot problems before they become visible (and expensive).
Structural safety isn’t DIY territory. Unless you’re a qualified building inspector, you probably don’t have the expertise to spot compromised structural elements.
Food and medicine are likely goners. Anything exposed to heat, smoke or firefighting water needs binning – yes, even those tins that look perfectly fine. Not worth the risk, is it?
The 7-Step Pro Fire Damage Restoration Process
When professionals like us at KDC Hygiene Ltd tackle fire damage, we follow a methodical approach that ensures nothing gets missed:
Step 1: Assessment and Safety Check
First, we do a thorough assessment of the damage. How far has the soot travelled? Is there water damage? Any structural concerns? We check for gas leaks, electrical hazards and structural integrity before any cleanup begins.
Step 2: Water Damage Control
Water from firefighting efforts needs addressing immediately. We bring in industrial-grade wet vacuums, pumps, dehumidifiers and fans to extract water and dry the area thoroughly. This is about getting moisture levels back to normal before mould sets up shop.
Step 3: Soot and Smoke Removal
This is the deep clean where the specialist tools and knowledge really make a difference:
- HEPA (High-Efficiency Particulate Air) vacuuming captures even the tiniest soot particles without redistributing them into the air
- Chemical sponges that actually absorb soot without smearing it around
- Alkaline cleaners that neutralise acidic soot
- Working from ceiling to floor (because gravity is still a thing)
We tackle every surface – walls, ceilings, inside cabinets, appliances, the lot. And we never touch soot-covered surfaces with bare hands because the oils in skin make stains set permanently.
Step 4: Odour Elimination
We don’t just mask that smoky smell with air fresheners; we eliminate it using:
- Ozone treatment that breaks down odour molecules
- Hydroxyl generators that purify the air
- Thermal fogging that penetrates all the places smoke reached
- Activated carbon filters that trap odour particles
The goal is a kitchen that doesn’t just look clean but smells like nothing happened.
Step 5: Preventing Secondary Damage
We pay special attention to metal surfaces, wiping them down with oil or alkaline cleaners to prevent corrosion from acidic soot. We also check and clean HVAC systems – a favourite hiding place for soot that can redistribute through your property if not addressed.
Step 6: Sanitisation
Especially crucial in kitchens is that we sanitise all surfaces to food-safe standards. Some porous materials or utensils may need replacing if they can’t be properly decontaminated. So your wooden spoon collection might need an upgrade, but better safe than sorry.
Step 7: Equipment and Structural Restoration
Finally, we assess equipment, appliances and structural elements. Some can be salvaged with proper cleaning and repair; others may need replacement. Electrical systems get checked by certified electricians to ensure everything’s safe before power is restored.
Commercial Kitchens: A Whole Different Kettle of Fish
If you’re dealing with a commercial kitchen fire, the stakes are even higher. Not only are you facing potential business downtime, but you’ve also got regulations, staff welfare and your reputation to think about.
Commercial kitchens present unique challenges, largely due to grease buildup and complex ventilation systems. That greasy buildup isn’t just unsightly – it's like kindling waiting for a spark. And once a fire starts, it can spread through ductwork faster than gossip in a small village.
The Silent Threat: Your Extraction System
Your kitchen extraction system – the hoods, ducts, canopies and fans – is both essential for daily operation. But it’s a major fire risk if not maintained. Grease-laden vapours collect on walls, ceilings and equipment, but especially within the ductwork, creating a highway for fire to travel.
TR19 Standards: Not Just Red Tape
In the UK, TR19 standards (from the Building Engineering Services Association − BESA) aren’t just bureaucratic hoops to jump through – they’re lifesavers. These guidelines specify how clean your extraction system should be to manage fire risk, and failing to comply can have consequences that go beyond a stern telling-off.
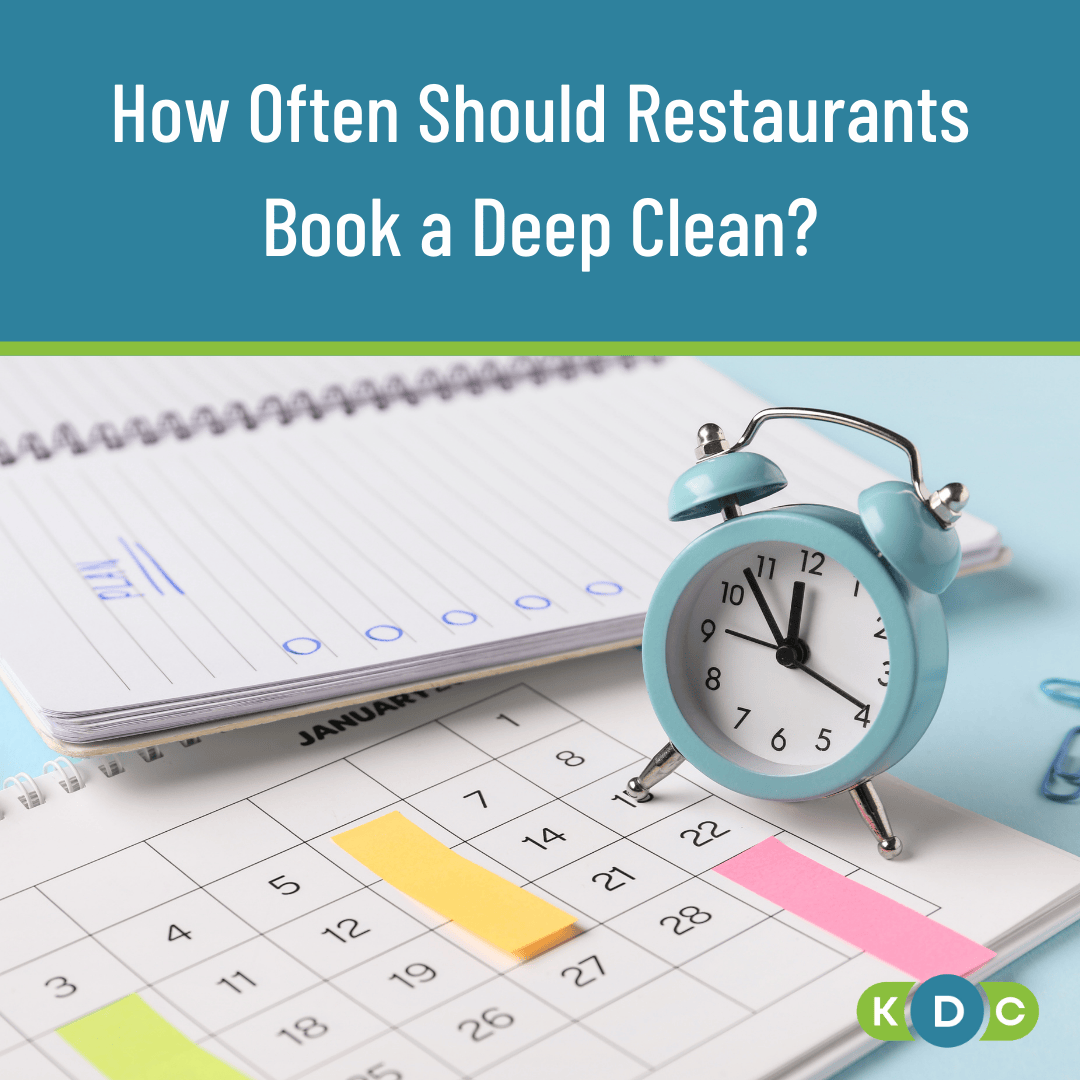
Regular Cleaning – Stick to a Schedule
TR19 recommends regular inspections and cleaning based on how heavily your kitchen is used:
- Heavy use (12-16 hours daily): Every 3 months
- Moderate use (6-12 hours daily): Every 6 months
- Light use (2-6 hours daily): Every 12 months
Professional Expertise: Not a DIY Job
Ductwork cleaning isn’t something to tackle yourself or hand to the new kitchen porter. It requires specialist contractors accredited under schemes like BESCA’s Vent Hygiene Elite Scheme or LPCB standard LPS 2084. And your ductwork needs proper access hatches – without them, cleaning is like trying to hoover your living room through the letterbox.
Documentation: Paper Trails Matter
After cleaning, TR19 requires contractors to provide a detailed report covering:
- Confirmation of areas cleaned
- Recommendations for improvements
- Test readings (such as wet film thickness, deposit thickness)
- Before and after photos
- System diagram
This isn’t just for your filing cabinet – it’s proof for insurers and EHOs (Environmental Health Officers) that you're on top of things.
Cooking Appliances: The Usual Suspects
Your cooking appliances are where fires typically start, so:
- Never leave them unattended
- Always keep filters above the range in place
- Schedule regular, recorded visual inspections
- Set up formal maintenance contracts
- Check for damaged cables or plugs regularly
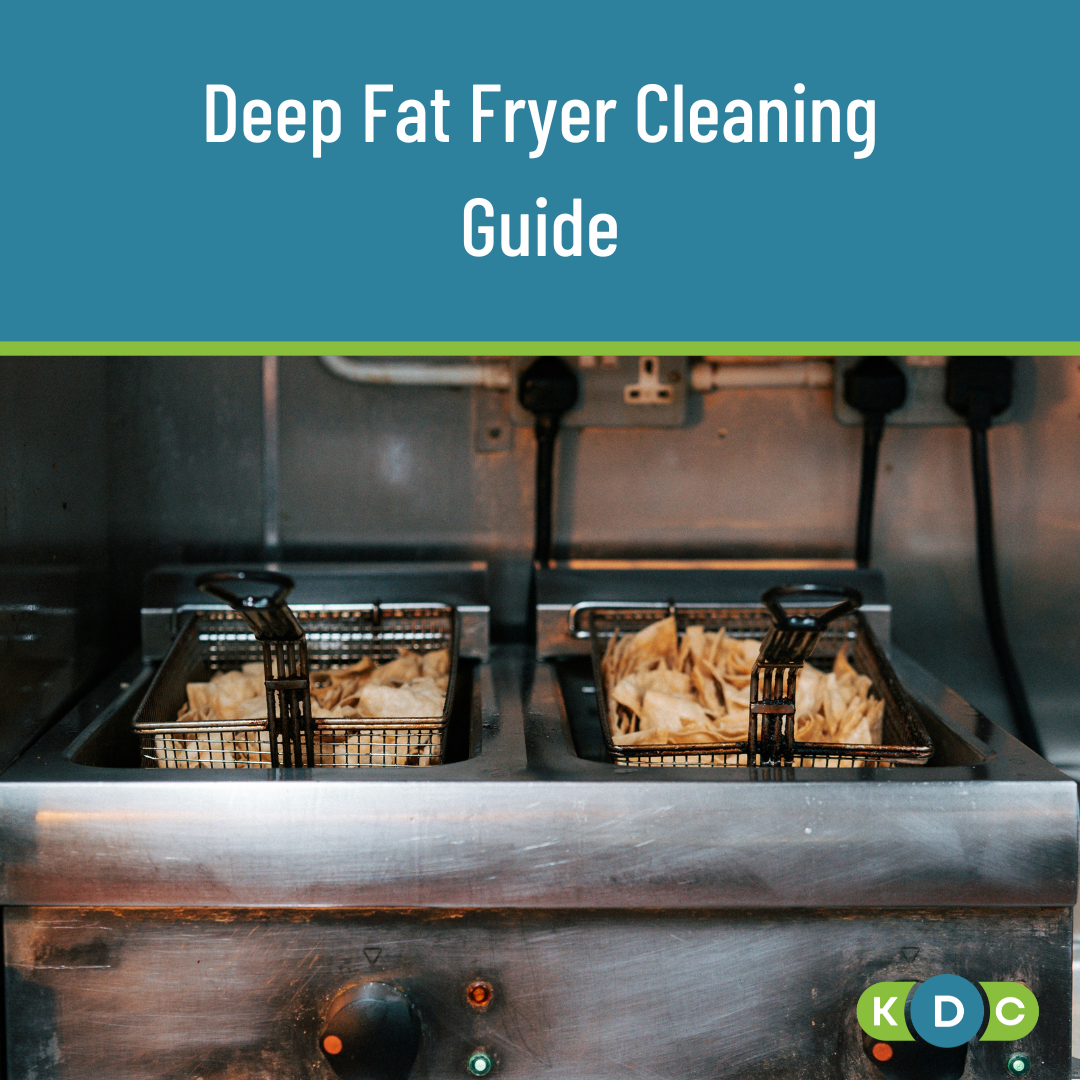
Deep Fat Fryers: The High-Risk Heroes
Deep fat fryers deserve special attention:
- They should have both a normal thermostat (max 190°C) and a high-level thermostat (230°C) to prevent spontaneous combustion
- Old oil is more fire-prone than fresh oil
- Always isolate power/gas during cleaning or oil changes
Automatic Fire Suppression Systems: Worth Every Penny
These systems provide 24/7 protection, and are particularly important for places with deep fat fryers. Look for UL 300 or EN 17446 approved systems – many insurers now insist on them anyway.
How We Can Help
When it comes to fire damage, cutting corners just doesn’t pay off. Professional services bring specialist equipment and expertise that DIY simply can’t match.
If you’ve experienced a fire, don’t go it alone. Contact specialists like us at KDC Hygiene Ltd immediately after the fire brigade gives the all-clear, work with your insurance provider (we can help with documentation), and remember that support resources like the British Red Cross are available for crisis assistance.
We’ve seen kitchens rise from the ashes to become even better than before. And with our deep cleaning services, we don’t just clean up after fires – we help prevent them too.