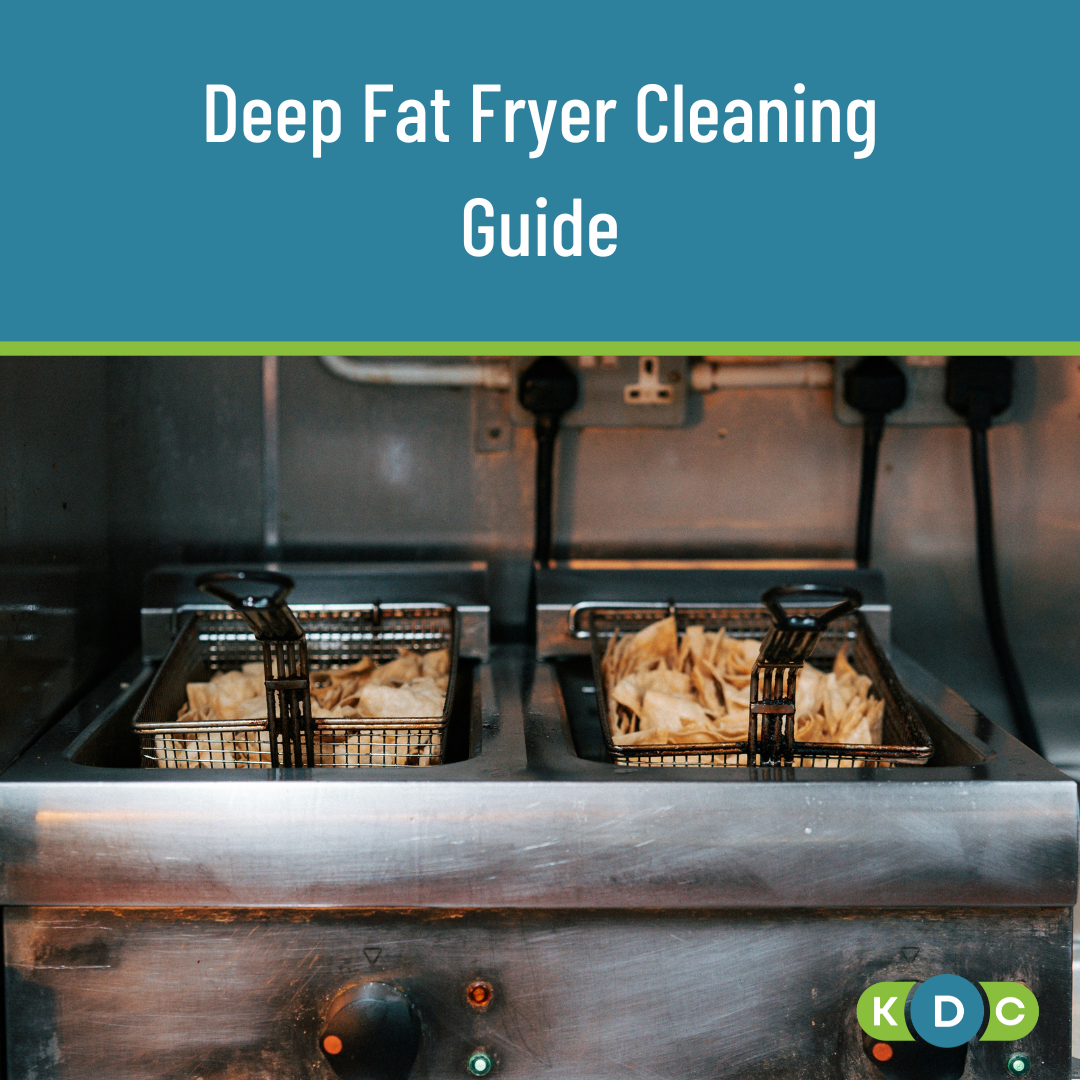
Deep Fat Fryer Cleaning Guide: Commercial Methods and Best Products in the UK
Expert guide to cleaning commercial deep fat fryers in the UK. Discover the best degreasing products, boil-out procedures and hygiene maintenance tips.
When your deep fat fryer stops delivering the quality your customers expect, it usually means one thing: it needs a proper clean. And if you’re not giving it a proper clean regularly, you’re asking for trouble. Neglected fryers don’t just affect food quality; they become safety hazards and compliance nightmares. This guide on how to clean your commercial deep fat fryer will walk you through the methods, products and schedules that’ll keep your equipment running properly and your kitchen up to scratch.
Why commercial fryer cleaning is non-negotiable
Maintaining high food quality
Nobody wants their fish and chips tasting like yesterday’s doughnuts, right? When food debris and old cooking oil build up in your fryer, they do more than just sit there looking grim. They actively ruin your food quality. That grease buildup imparts ‘off’ flavours, making everything taste stale, and leaves your fried items greasier than a chippy on a Friday night. If customers are complaining about the taste, your fryer’s probably long overdue for a deep clean.
Upholding hygiene standards and preventing illness
Leftover oil and grease buildup also creates the perfect breeding ground for harmful bacteria and allergens. That increases the risk of foodborne illnesses and cross-contamination − neither of which you want anywhere near your restaurant kitchen. Proper hygiene isn’t just about looking good when the inspector drops by; it’s about protecting your customers and your reputation. Regular cleaning helps reduce the risk of contamination and keeps those hygiene standards where they need to be.
Ensuring safety and compliance
In the UK, the Food Standards Agency doesn’t mess about. Your fryer needs to meet strict hygiene regulations and cleanliness is a massive part of staying compliant. Beyond that, built-up grease is a fire hazard waiting to happen. One spark near all that accumulated oil and you’ve got a proper emergency on your hands. Regular fryer maintenance using food-safe fryer cleaning products is essential to ensuring safety and keeping your business out of hot water.
Understanding your equipment and preparation
Types of fryers that require attention
Not all fryers are created equal. Whether you’ve got an open pot fryer, a pressure fryer, or an electric fryer, each type has its own quirks when it comes to cleaning. Pressure fryers, for instance, have sealed lids and extra components that need careful handling. Open pot models are a bit more straightforward, but they still need the same level of attention. The key is to check the manufacturer’s instructions before you get stuck in, as different models have different requirements. You don’t want to damage your expensive kit by guessing.
Safety first: Pre-cleaning checks
Before you even think about scrubbing, make sure your fryer is switched off and the oil has cooled completely. Hot oil and cleaning chemicals are a dangerous combination, so patience is your friend here. And don’t forget that grease doesn’t just stay in the fryer. It travels up through your extractor fan and hood system, so those areas need regular attention too. A proper deep clean means tackling the whole setup, not just the vat.
Essential products and tools for commercial degreasing
Best products for fryer cleaning in the UK
You can’t shift heavy-duty grease with just a squirt of washing-up liquid. There’s no way around it: commercial fryers require commercial-grade cleaning chemicals. CleanPro+ Deep Fat Fryer Cleaner H16 is one of the best products for fryer cleaning. It’s specifically formulated to dissolve tough grease, carbon deposits and baked-on food residues that ordinary cleaners won’t touch. High-alkaline degreasers and boil-out cleaning solutions are your essential cleaning products here. Just make sure you’re using cleaning solutions at the correct dilution rates. If they’re too weak, they won't work; if they’re too strong, you’re wasting money.
Protective gear and tools
Right, let’s talk safety. When you’re working with heavy-duty cleaning chemicals, you need proper protection: chemical-resistant gloves, goggles and a waterproof apron are non-negotiable. For scrubbing, use a non-abrasive brush or scraper, so that you shift the gunk without damaging the fryer’s surfaces. A long-handled brush helps you reach those hard-to-reach areas inside the vat. Degreasers do the heavy lifting, but you still need the elbow grease to finish the job properly.
The commercial boil-out procedure: A step-by-step guide
The boil-out method is the gold standard for cleaning a commercial deep fat fryer. When done right, it’ll bring your equipment back to almost-new condition.
Step 1: Cooling and draining the oil
Before you start, your fryer needs to be cool enough to handle safely. Turn it off and let the oil cool to around 40−50°C. Once it’s safe, drain the used oil into a proper container for disposal or filtering. If you’re planning to reuse it, make sure it’s been properly filtered. Remove any loose food debris from the bottom of the vat using a fryer skimmer or scraper. You want to get rid of as much solid gunk as possible before moving to the next step.
Step 2: Preparing the solution
Close the drain valve. This is important, as you’re about to fill the fryer with water. Fill it to the normal oil level with hot water, then add your commercial fryer cleaner. For the CleanPro+ H16, use roughly 5ml per litre of water for lightly soiled fryers, or up to 20ml per litre if you’re dealing with serious grease buildup. Stir it gently to mix the cleaning solution properly.
Step 3: The boil-out and scrubbing process
Turn the fryer back on and gradually bring the cleaning solution to a simmer. You’re aiming for about 100−107°C. Don’t let it come to a rapid boil, or you’ll have bubbling solution all over your floor (trust us, nobody wants that). Let it simmer for 10 to 30 minutes, depending on how grotty things are. While it’s simmering, use your long-handled brush to degrease the heating elements and scrub the internal vat walls. This is your chance to shift all that baked-on carbon and grease from those hard-to-reach spots. It’s not glamorous work, but it’s effective and necessary.
Step 4: Rinsing and neutralisation
Once the boil-out’s done its job, turn off the heat and let the solution cool back down to 40−50°C before draining. This cleaning process ensures the fryer is properly degreased, but you’re not finished yet. Many commercial cleaning methods recommend a neutralisation step: refill the fryer with clean water, add 230ml to 350ml of white vinegar and heat it to about 93°C. This neutralises any alkaline residue from the cleaning chemicals. Let it heat for about 15 minutes, then drain and move on to the final rinse.
Meanwhile, clean the removable parts
While the boil-out’s happening, clean the deep fryer basket and any other removable parts separately. Soak them in hot soapy water (or a vinegar solution if they're particularly greasy) and give them a good scrub. These parts see just as much action as the vat itself, so don’t skip them.
Final steps: Rinsing, drying and oil management
Step 5: Thorough rinsing and drying
Rinse the entire fryer at least twice with clean, cold water. You need to remove every trace of cleaning chemicals, as any residue left behind will contaminate your fresh oil and ruin your next batch of food. After rinsing, wipe down all interior surfaces with lint-free cloths or paper towels. Let everything air dry completely. Seriously, don’t rush this bit. Even a small amount of water left in the vat will cause your fryer oil to degrade faster, which can be dangerous when you heat it up.
Step 6: Refilling the deep fryer
Once your fryer is bone dry, it’s time to refill the deep fryer with fresh or filtered cooking oil. If you’re reusing oil, make sure it’s been properly filtered and is still within its usable life. Good oil management extends the life of your fryer oil and improves food quality. Remember to dispose of your used cleaning solution and old oil responsibly. Pour it down the drain and you’re asking for blocked pipes and an angry plumber.
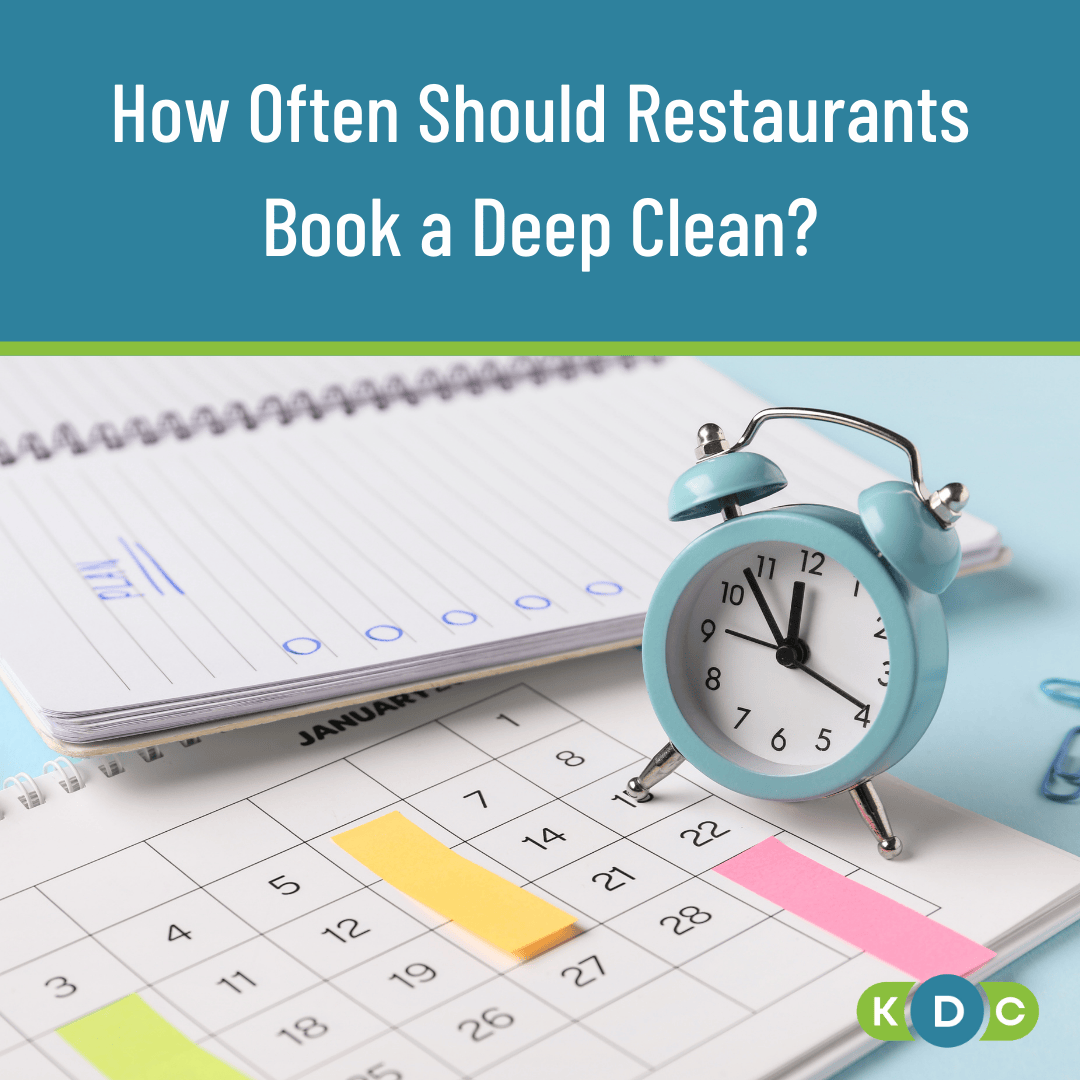
How often should a commercial deep fat fryer be cleaned?
Setting a cleaning schedule
Here’s where things differ from domestic use. A typical commercial deep fryer in a busy kitchen needs daily maintenance: skim off floating debris, wipe down the exterior and filter the oil if your system allows it. Ensure it’s on your cleaning schedule and checklist. But a full boil-out? That deep fat fryer doesn't clean itself, so you’re looking at a proper deep clean every three to six months, or at least every six months as an absolute minimum. High-volume operations might need it more frequently. If your oil quality starts deteriorating or you’re noticing off-flavours, that’s your cue to clean your commercial deep fryer ahead of schedule.
Continuous fryer maintenance
Between those deep cleans, keep your fryer running smoothly with regular fryer checks. Daily skimming removes food particles before they burn and carbonise. If you’ve got an oil filtration system, use it. Filtered oil lasts longer and performs better. These small daily habits keep all areas clean and mean your fryer every time you use it performs at its best. Think of it as preventative care rather than reactive cleaning.
Conclusion: We’re here to help keep your kitchen compliant
Regular fryer care protects your investment, safeguards food quality and keeps your customers safe. Use this fryer cleaning guide to establish a routine that works for your operation.
Running a high-volume kitchen and need professional support? At KDC Hygiene Ltd, we specialise in commercial kitchen cleaning, including thorough deep fat fryer maintenance. We work around your schedule and use industry-leading products to keep your equipment inspection-ready.
Give us a bell, so that you can do the cooking and we’ll handle the grime.
FAQs
How often should I deep clean a commercial deep fat fryer?
Perform daily maintenance (skimming debris, filtering oil), but do a full boil-out deep clean every three to six months, minimum. High-volume kitchens may need more frequent cleaning.
What’s the boil-out method for cleaning fryers?
Fill the cooled fryer with hot water and a commercial cleaner, simmer at 100−107°C for 10−30 minutes, scrub internal surfaces, then drain, neutralise with vinegar, rinse thoroughly and dry completely.
What products work best for commercial fryer cleaning in the UK?
Use commercial-grade degreasers like CleanPro+ Deep Fat Fryer Cleaner H16. High-alkaline formulas dissolve tough grease, carbon deposits and baked-on residues that ordinary cleaners can’t handle.
Why is regular fryer cleaning essential?
It maintains food quality, prevents off-flavours, reduces fire hazards from grease buildup, ensures FSA compliance and prevents bacterial growth that could cause foodborne illness.
Can I use regular washing-up liquid to clean my commercial fryer?
No. Commercial fryers require commercial-grade cleaning chemicals specifically formulated to dissolve heavy-duty grease and carbon deposits. Regular detergents simply aren’t strong enough for the job.